

DIY Textured Canvas Wall Art
Quick answer
A textured canvas wall art piece is built by spreading joint compound over a stretched canvas in deliberate patterns, letting it cure, then layering acrylic paint to bring out the relief. The materials are inexpensive: a blank canvas, premixed joint compound, a putty knife, and the acrylic colors you want. The result reads as gallery abstract art when paired with a floater frame or a flat profile in a complementary tone. The walkthrough below covers supplies, technique, dry time, paint sequence, and how to frame the finished piece without trapping moisture.
DIY Textured Canvas Wall Art
Textured canvas wall art is an easy weekend DIY that uses joint compound from any hardware store to create dimensional abstract pieces. Apply joint compound to a stretched canvas with a putty knife, vary your technique to build texture, let it dry fully, and finish with a dry brush of acrylic paint. Frame your finished canvas in a canvas floater frame for a clean, gallery-ready look. Most home DIYers can complete the active steps in about 30 minutes per canvas, plus several hours of drying time between steps. The result is custom abstract art that costs a fraction of store-bought textured pieces and lets you match colors and patterns to your existing decor.
June 02, 2021
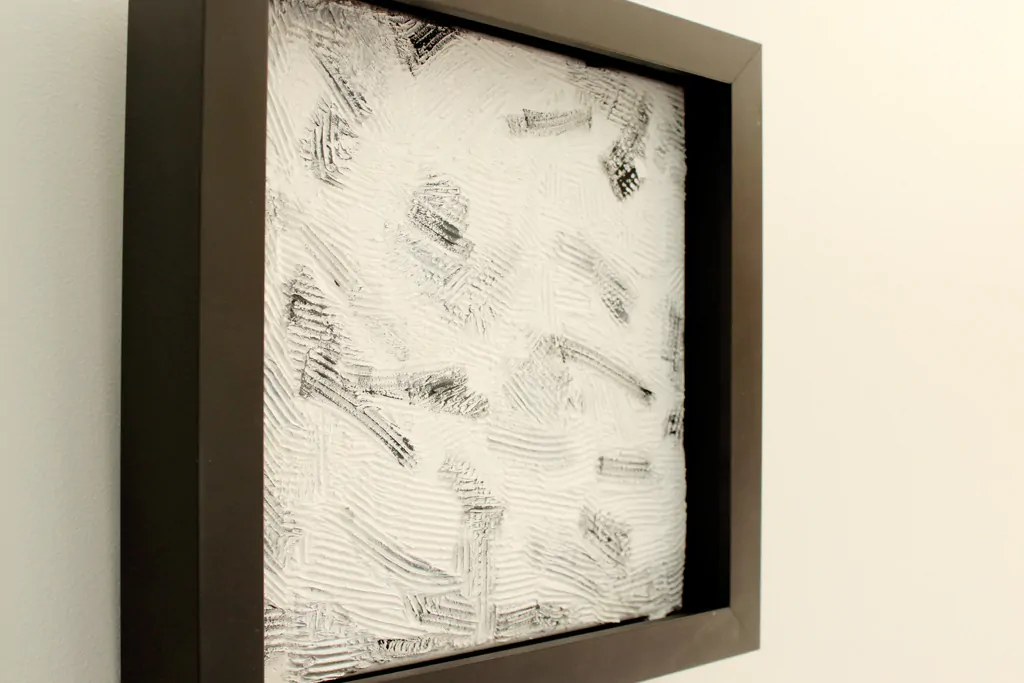
Just as in life, not everything has to be smooth and relaxed. Add some variety and texture to your life and your home when creating textured canvas abstract art using supplies from your local home improvement store. Yes, you heard us right: joint compound, originally designed to repair plaster and drywall, can be used on a basic canvas to fill the blank walls in your space. Check out our tutorial for tips to finish it off with a dry brush technique and how to fit these abstract pieces in a canvas floater frame using the canvas clips provided.
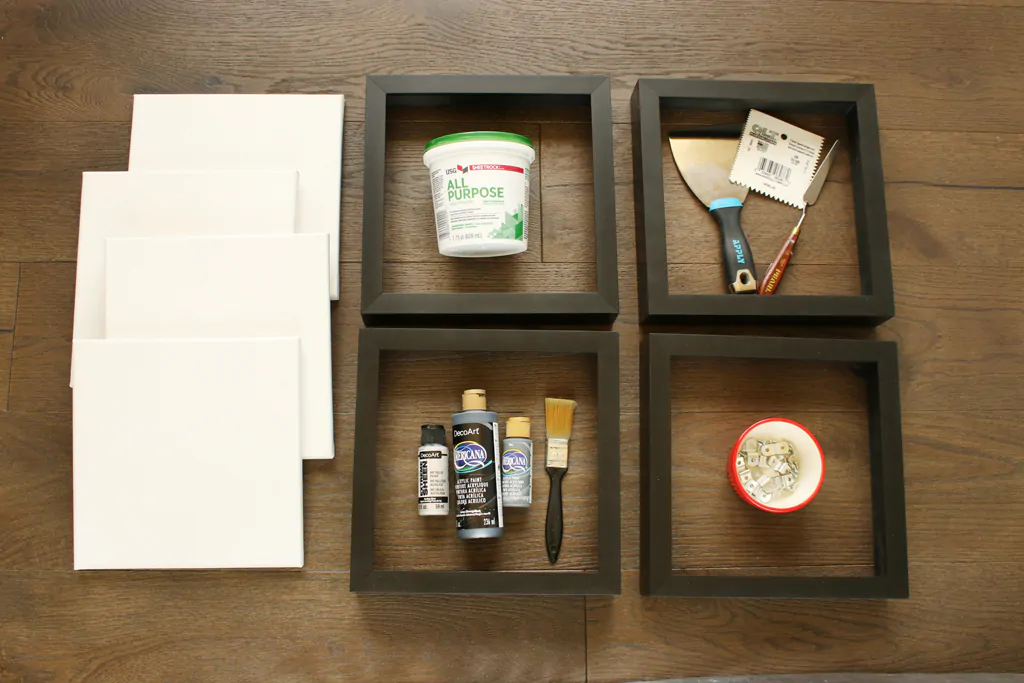
How to Make Textured Canvas Wall Art at Home
- 10" x 10" canvas floater frame
- 10" x 10" canvas
- Joint compound
- Putty knives
- Acrylic paint
- Paintbrush
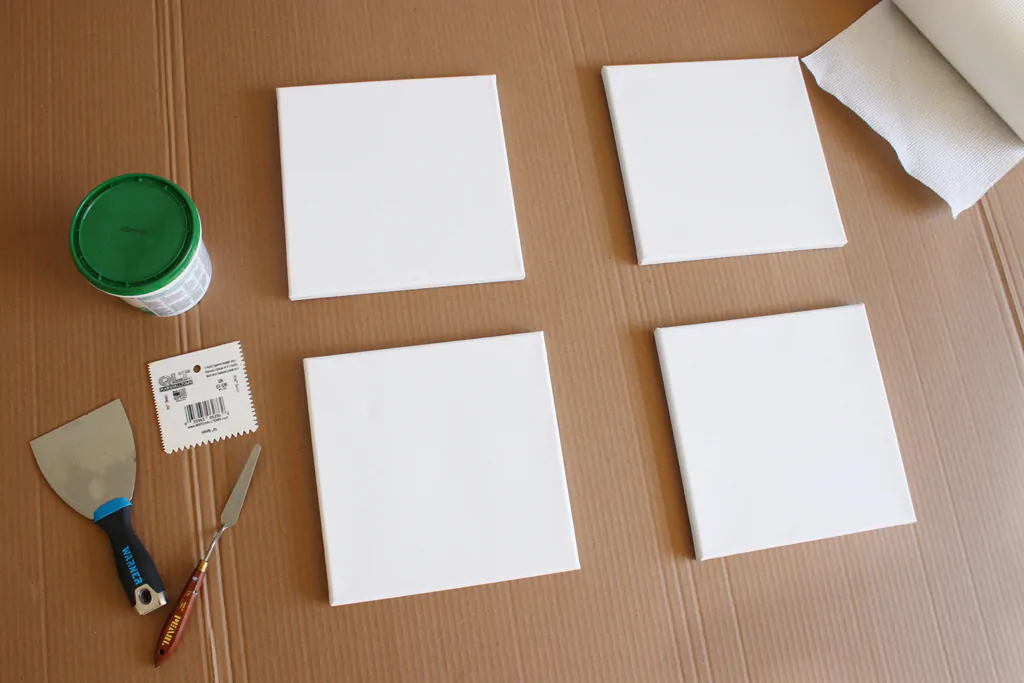
Step 1: Protect your surface
Start by protecting your surface with large scraps of cardboard. Note: there can be a long dry time for the first step of this project, so you might want to work on it in an out-of-the-way place, like the garage.
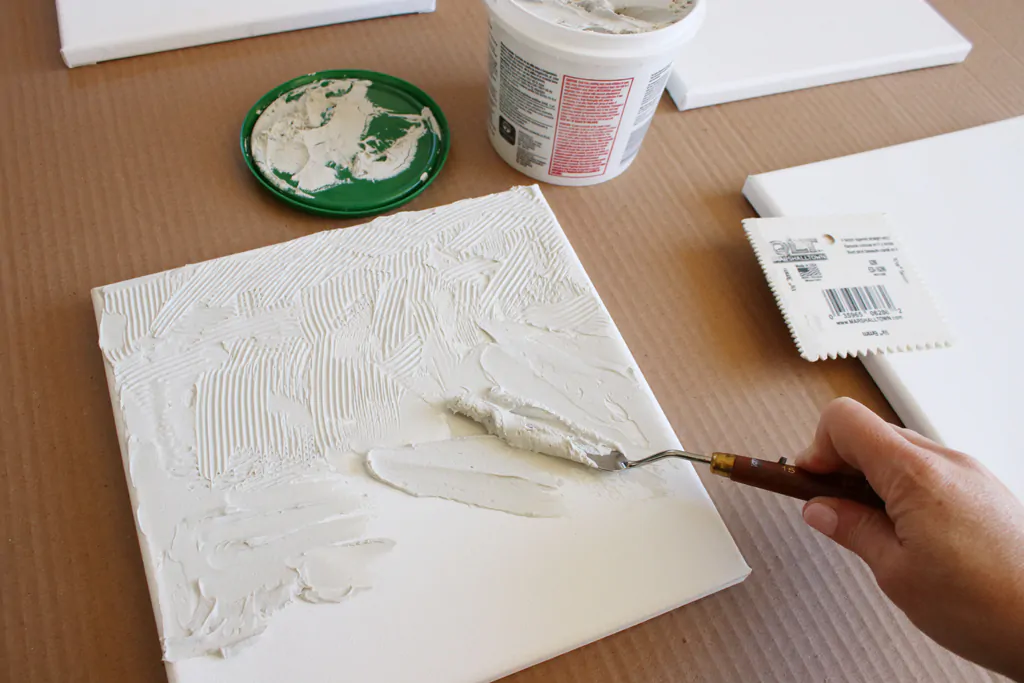
Step 2: Apply joint compound
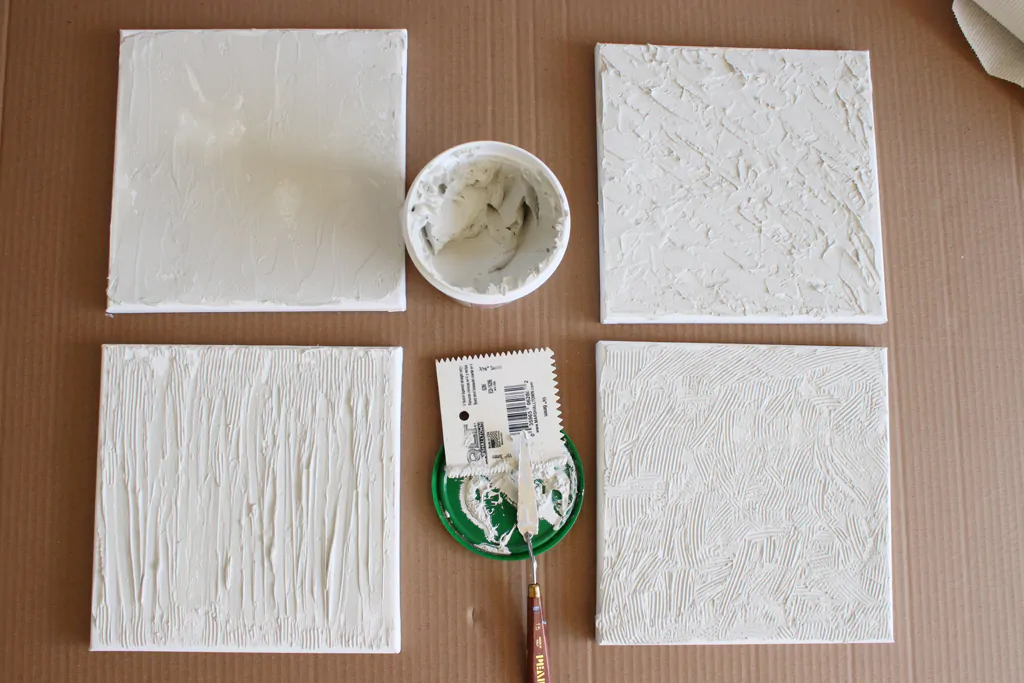
Joint compound is easy to work with as it can be smooth if you pay attention to your smoothing technique, but it can also hold the textured pattern you apply. Use a putty knife to apply some joint compound onto the canvas.
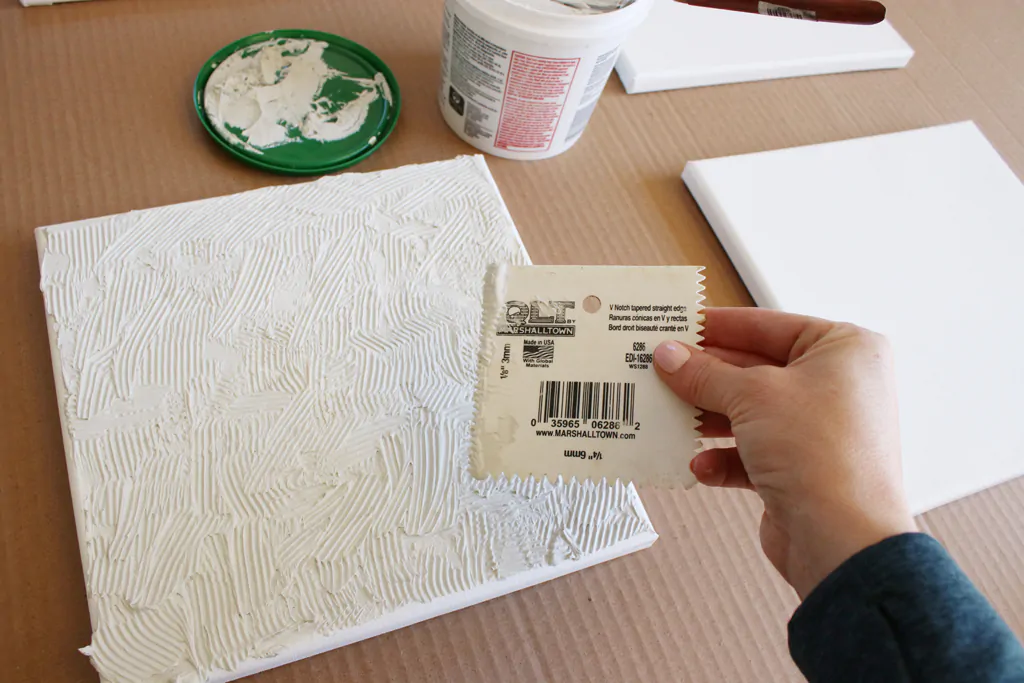
Step 3: Vary your technique
Consider holding the knife at different positions to create different patterns. Pull down. Push left or right. Lift the material to make peaks. Drag to make long marks, or use the flattest side to make a subtle pattern.
Step 4: Experiment with tools
Try different tools that might evoke a pattern just by dragging it across your canvas. You can use one or any of these techniques on different canvases.
Step 5: Add color
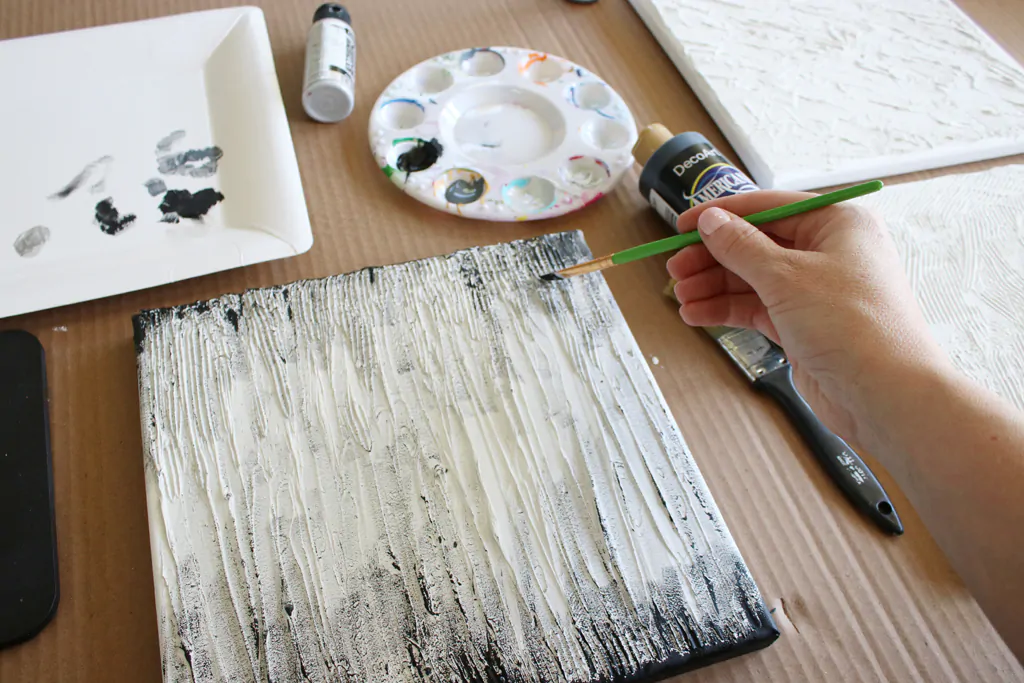
Once fully dry, consider adding some color with acrylic paint and a dry brush technique.
Step 6: Play with paint placement
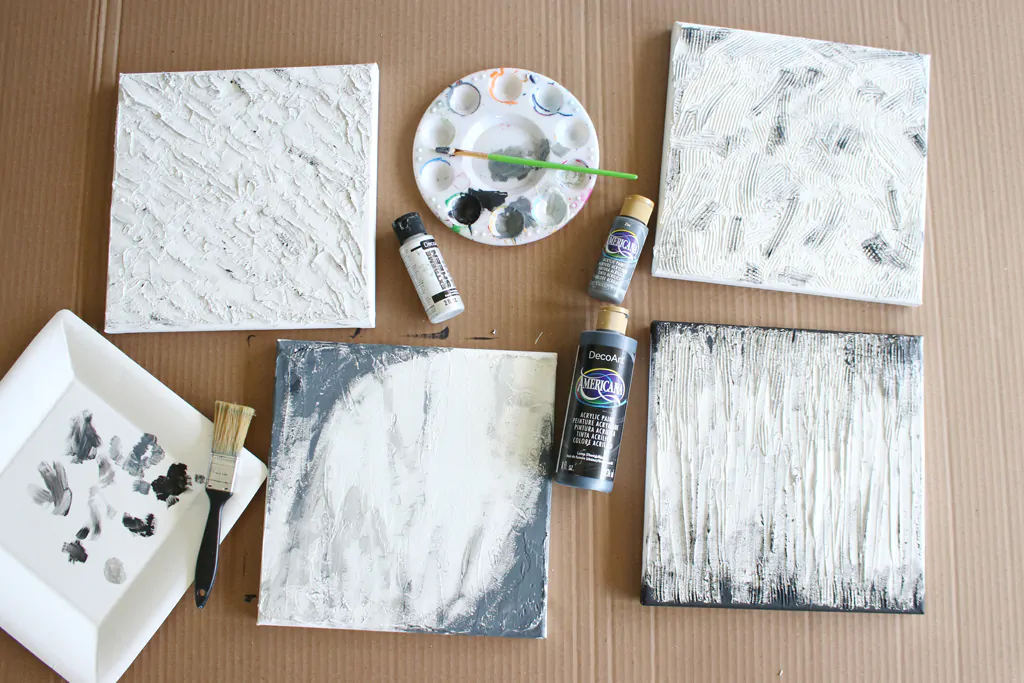
Adding paint to the peaks will have a different look than adding paint to the valleys of your textured surface. Play around and see what type of unique abstract art you can create in this step.
Step 7: Prepare to frame
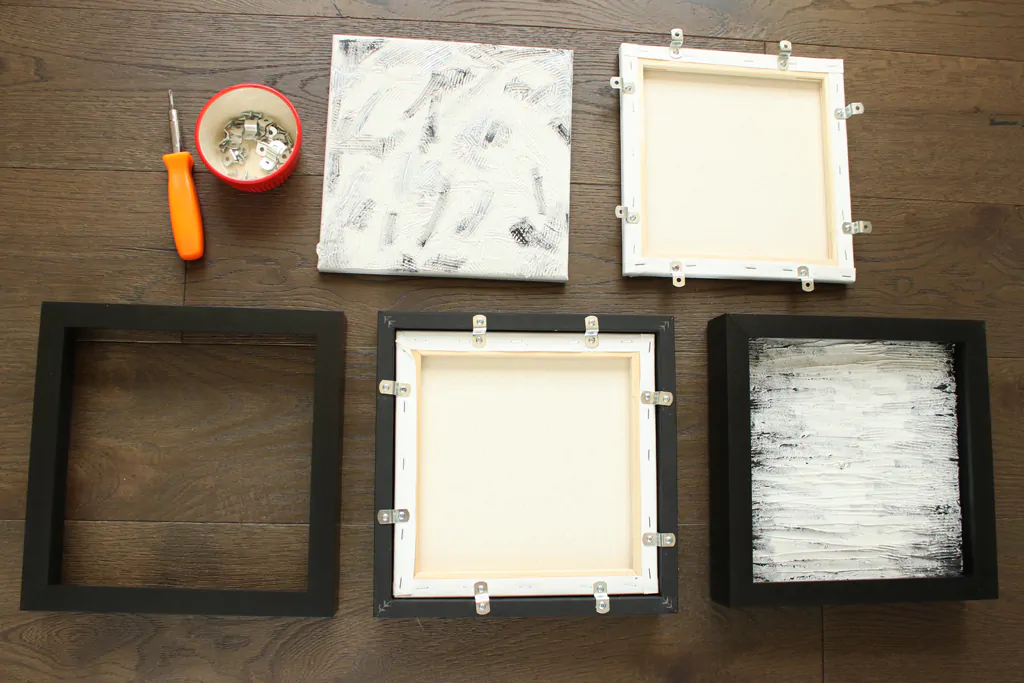
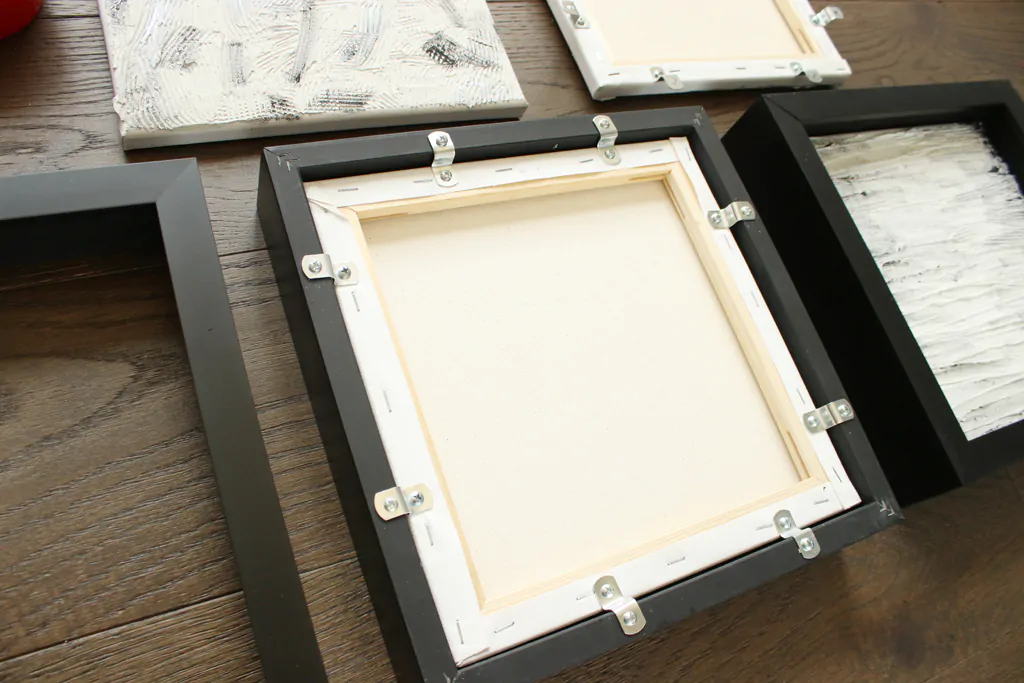
Now that your paint is dry, let us prep to hang. Your canvas floater frame order will include offset canvas clips that secure the canvas safely within your frame. The number of clips sent is determined by your canvas size.
Step 8: Install the clips
Add the offset clips to the back of your canvas first, then onto the frame itself.
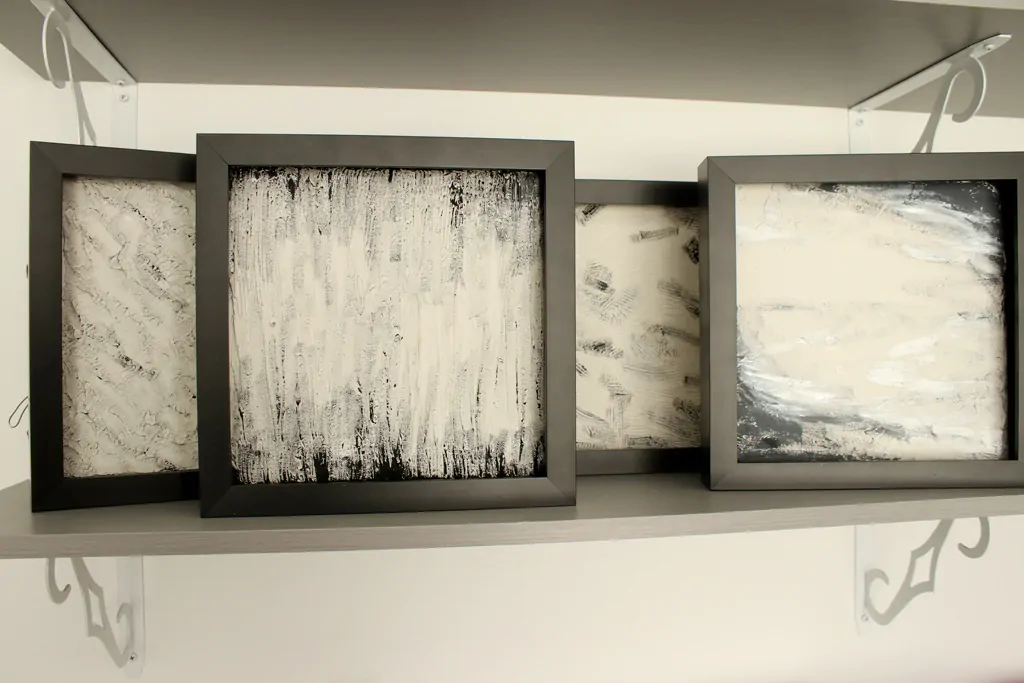
Repeat for all canvases and frames.
Add D-ring hanging materials using our step-by-step hanging hardware tutorial.
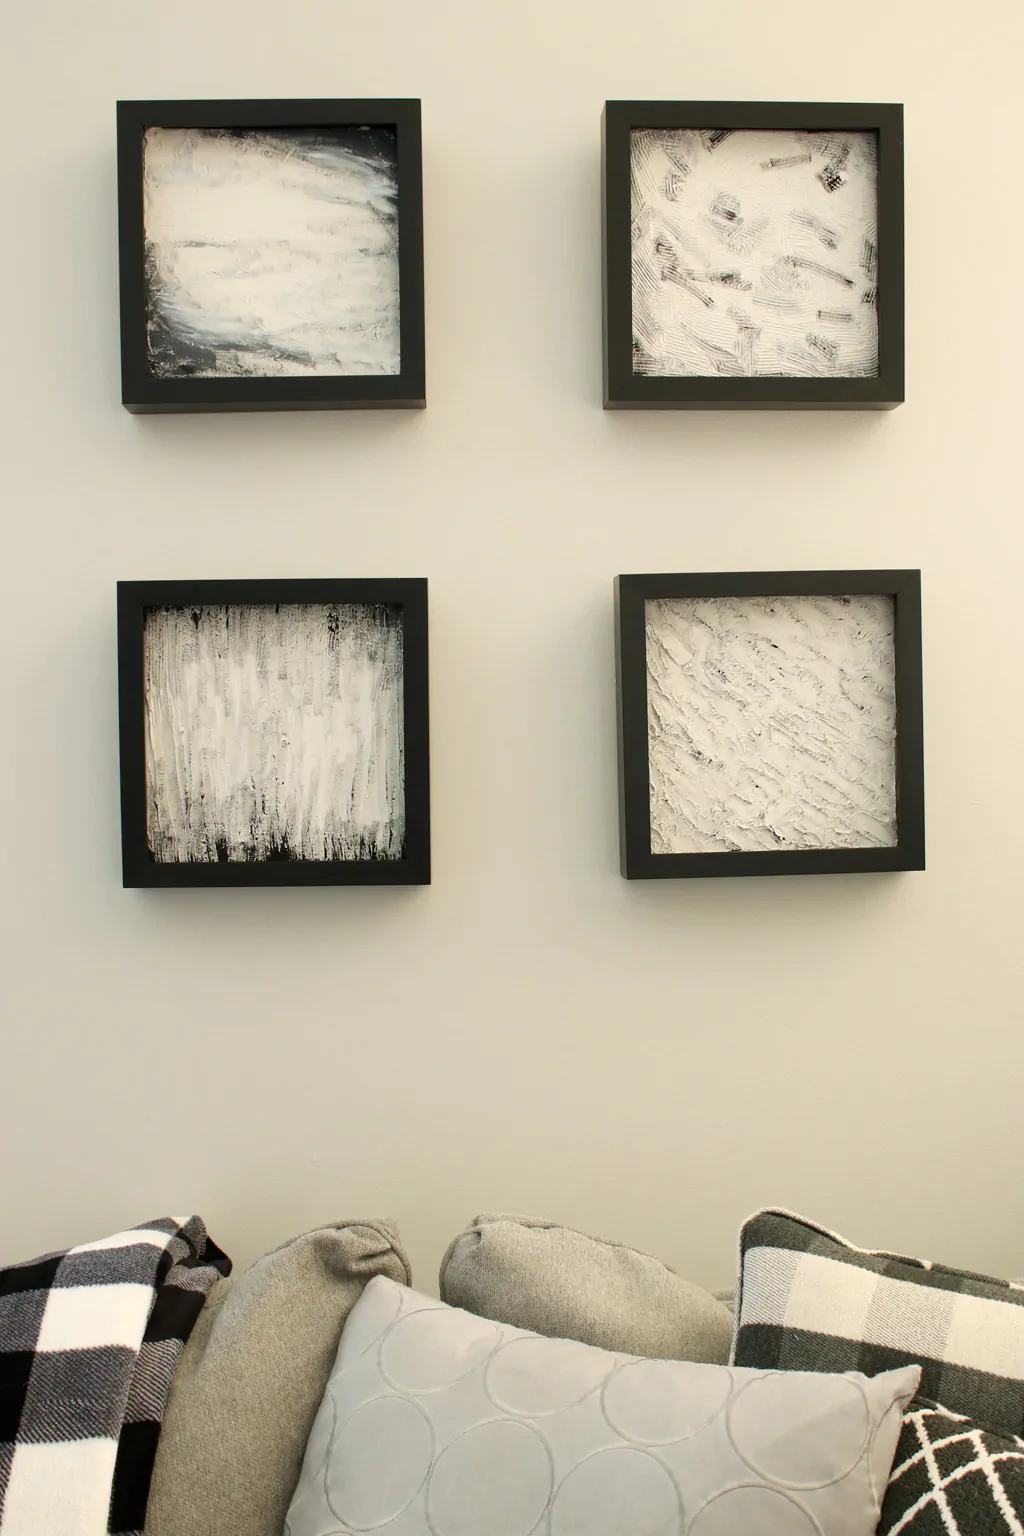
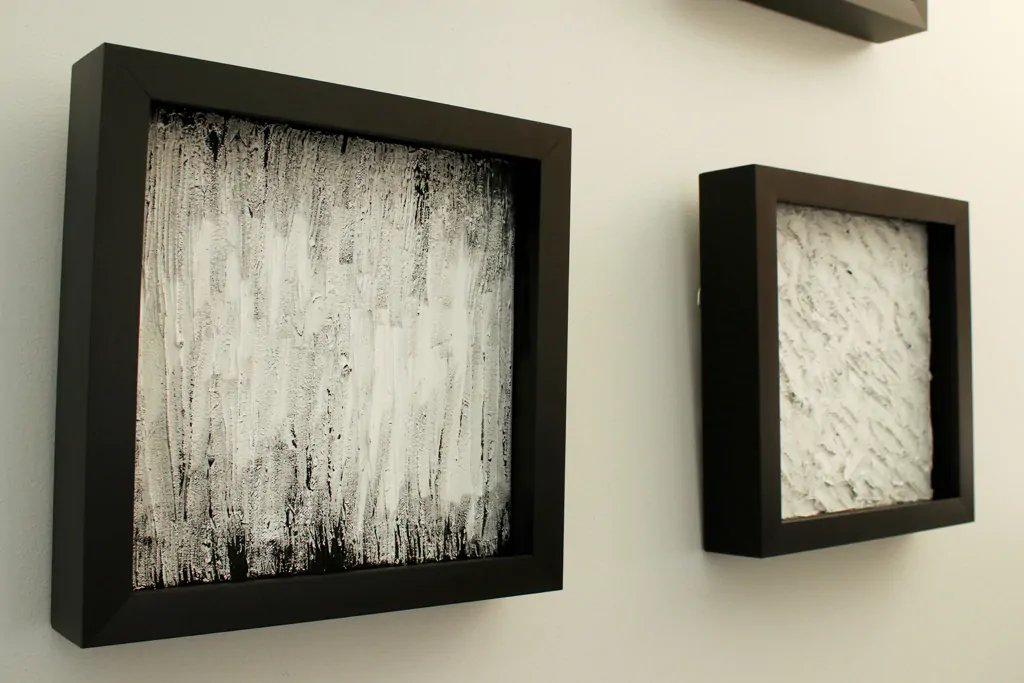
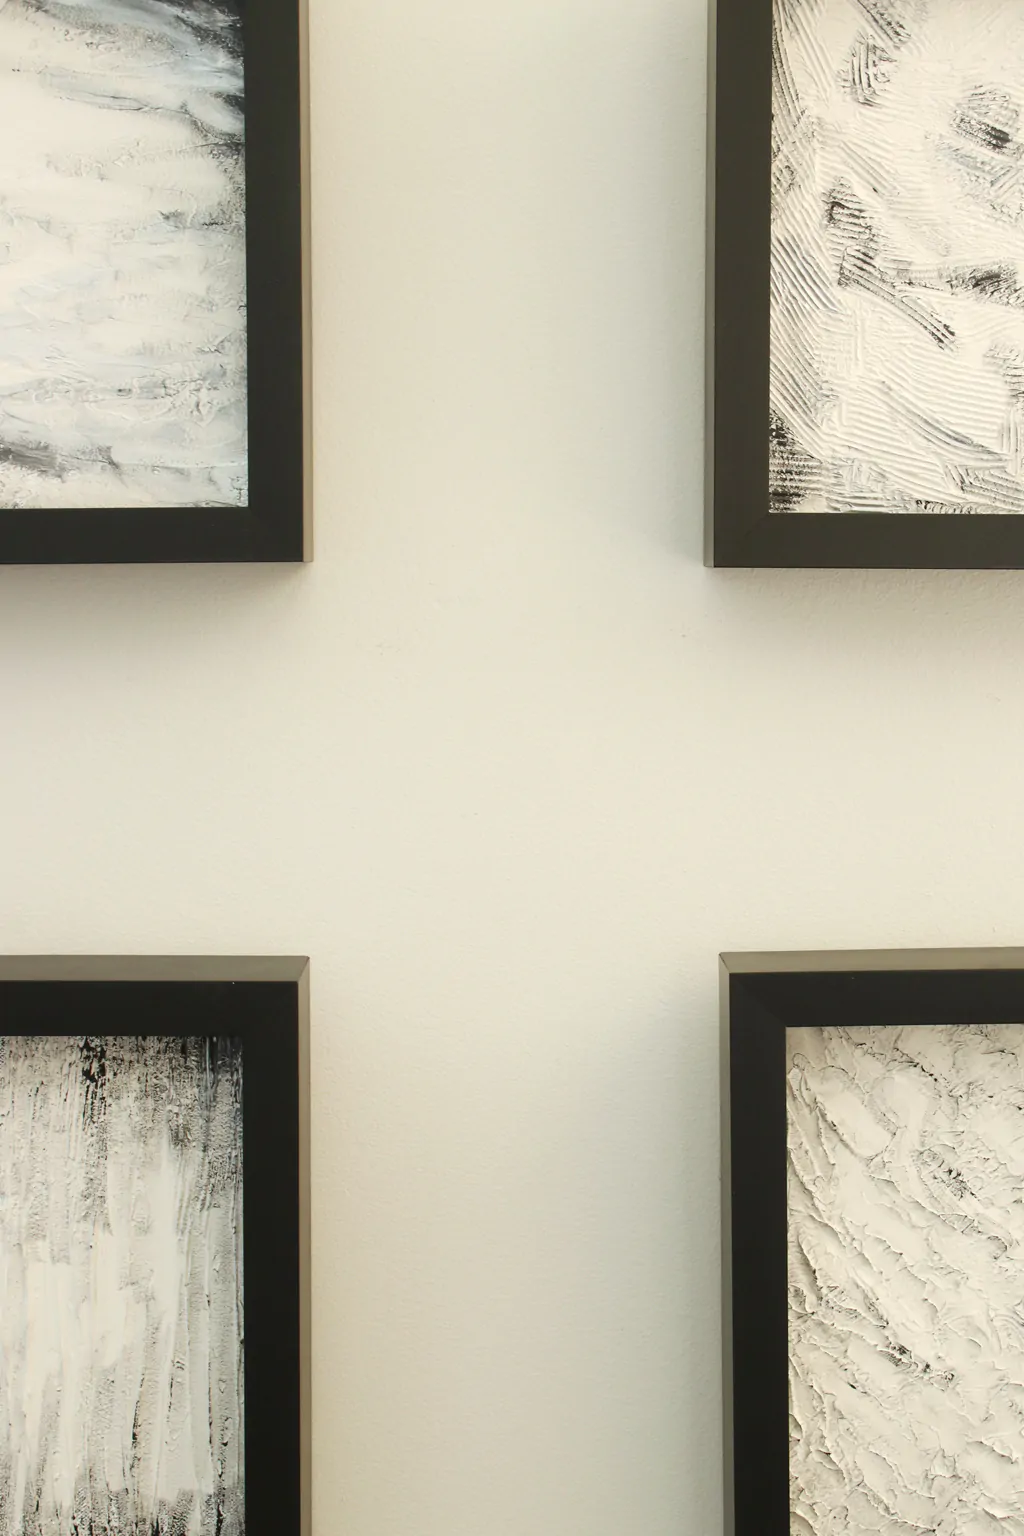
Add your canvas frames to your wall and admire the texture and interest you added to your living room, bedroom or office. The depth of a canvas floater frame lets your texture canvas art stand out cleanly against the wall.
Frequently Asked Questions
What is joint compound?
Joint compound is a plaster-based paste sold at hardware stores, originally designed to fill seams between drywall sheets and repair holes in walls. For DIY canvas art, it works as an affordable, easy-to-shape texture medium that holds patterns well and accepts acrylic paint cleanly once dry.
How long does the joint compound take to dry on a canvas?
Plan on at least 24 hours of drying time before painting. Thicker applications may take 48 hours or longer to fully cure. Drying time depends on how thick you apply the compound, the humidity in your workspace, and ventilation. The compound will lighten in color as it dries.
What canvas size works best for this project?
A 10" x 10" canvas pairs well with a 10" x 10" canvas floater frame for a clean square gallery look, and the small size makes it easy to handle while applying compound. You can scale up to larger canvases, but expect longer drying times and more joint compound per piece.
Can I use a frame other than a canvas floater frame?
Canvas floater frames are designed to hold a stretched canvas without covering the edges, which is the look most DIY textured pieces are styled around. Standard picture frames generally will not accommodate a stretched canvas because the canvas sits proud of the frame opening. If you want a different look, custom shadow box frames can also hold canvases with the right spacing.
About The Author
Tara Nehil is author of SpotOfTeaDesigns.com, a lifestyle blog sharing home decor, crafts, party inspiration and parenting lessons learned the hard way. Her graphic design background is evident in the home she lives in and styles with her husband and two young daughters. Follow her creative work for photo tutorials, printables, budget-friendly decorating tips and ways to celebrate occasions big and small.